
If you’re not yet using modeling chocolate, you need to get with the program! Getcha modeling chocolate groove on!
Making and using modeling chocolate is so easy that after my first, uh…successful attempt at it, I was left wondering why I hadn’t been using it for the last few years!
I must admit, I tried to make it a few years back, and it was a horrible mess! So much so, that I was too afraid to ever try it again. I know now what mistake I made. (I’ll let you in on that in just a sec) In hind sight, I should’ve just corrected it immediately, tried again and lived happily ever after with my chocolate! Being the creature of habit that I am though, instead I chose to continue to comfortably work with fondant, and convince myself that the hype pertaining to modeling chocolate was just that…..hype.
Well I’m here to tell you, it isn’t just hype at all. It’s AHHHHmazing!
The first time I attempted to make it, I believe I used chocolate baking chips from the grocery store. Yeahhh…..don’t do that! Those types of chips, while great for cookies and such, contain too much oil for modeling chocolate. Leaving you with a greasy mess!
There are several different brands of melting chocolate out there, you can find them at your local craft store, or candy and cake supply stores. My personal favorite is Merkens brand. They’re never dry, and they melt smooth and easily. While you only need two ingredients to make modeling chocolate, it’s still quite a bit more expensive to make than fondant. I am a money saving, for real penny pincher when it comes to certain things, but I am here to tell you that this is WELL worth the cost!
Not only is modeling chocolate a delicious alternative to fondant, it makes sculpting figurines a breeze. For real! It holds its shape almost immediately, and you can easily & quite literally “wipe out” the seams in your work. Once dry, it will hold its shape forevAH….well, I’ve never tested forever, but a long, long, time. It also keeps at room temperature for months. As long as you wrap it tightly!
Now, this is still a happily ever after story but……..lets talk about modeling chocolate “cons” if you will, before I tell ya how to make it.
While you can certainly cover a cake with it, the consistency is NOT as stretchy as fondant. So you run the risk of tearing it while covering. It is possible however, to mix your modeling chocolate 50/50 with fondant. This still gives you the taste of the chocolate, but the pliability of fondant. Win freaking win! The only time I completely cover a cake with modeling chocolate, is when I’m working on a nice square cake. Because the modeling chocolate holds its shape quicker than fondant, it makes getting those clean edges a breeze. There is a con involved here…..modeling chocolate is HEAVY! Make sure you’re using a sturdy “cake”, and if you’re stacking said cake, be sure to dowel it well so that it doesn’t crush itself 😁.
Finally, one more con….just so you’re prepared. Just like fondant, (ok worse than fondant) it does NOT like humidity! Once modeling chocolate has been placed in the fridge, it will sweat it’s rump off after you take it out on a hot day. And I do mean you will have colored water runs all over your hard work! (Sad face). You can make it a little better by boxing your cake up nice and tight before refrigeration, but there is no complete cure for this. So it’s best to let your figurines, flowers, etc…dry on your countertop and place them once your cake is ready to go. Or else, avoid using it altogether during humid months. Wha Wha Wha…..
Ok, I think at this point you probably just want me to tell you how to make it! So here’s what ya need:
- 5 cups chocolate candy melts
- 1 cup light corn syrup
If you’re waiting for more ingredients…..there aren’t any! That’s it! Woot!

Step one: place your candy melts in a large microwave safe bowl.

Microwave on high for one minute…….give it a good stir with a rubber spatula …..usually not much progress at this point.

Place back in the microwave on 50% power at 30 sec intervals, stirring in between, until it’s nice and smooth. (Should you choose to forgo the recommended 50% power bit you will scortch ya chocolate…don’t say I didn’t warn ya)

Microwave your cup of corn syrup for 40 seconds. Then mix with your chocolate.

This process doesn’t take long at all! Once it starts pulling away from the sides of your bowl, you’re done! Do not over mix!

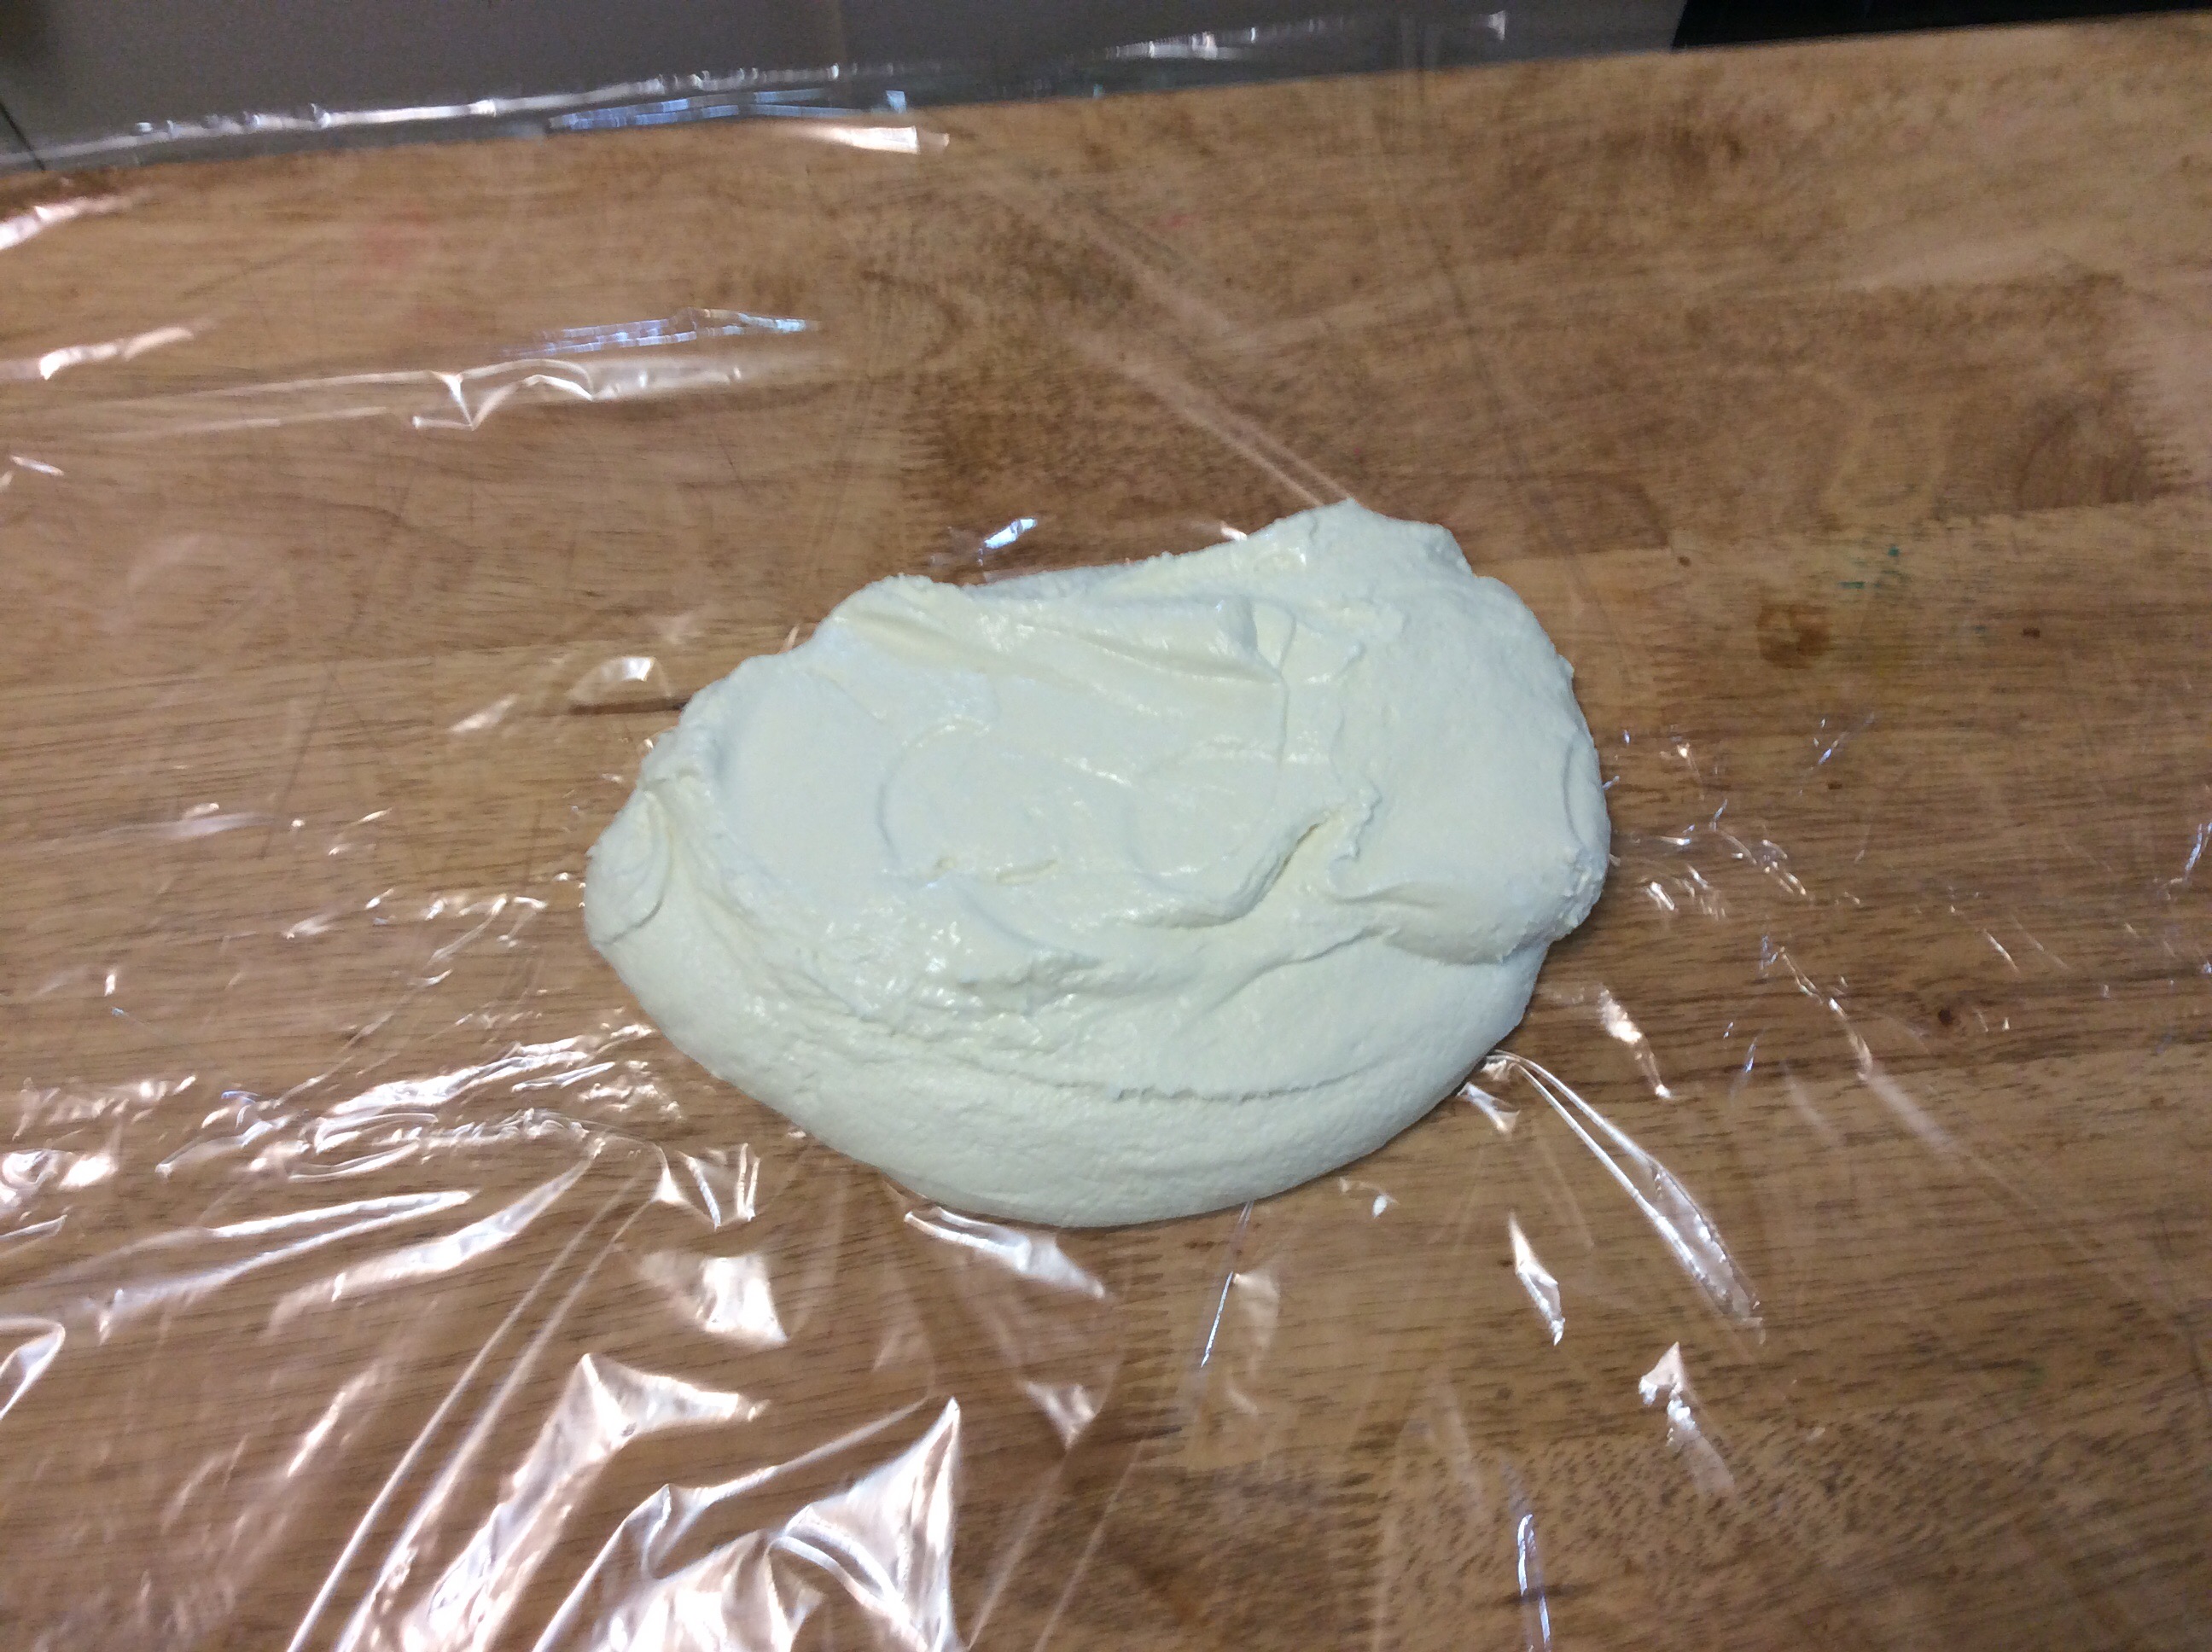
Just turn your mixture out onto Saran Wrap, and wrap tightly. That’s it! It’s best to flatten out your chocolate so that it cools quicker. As with fondant, try to do this a few days ahead of when you’ll need it. If you need it right away you can place it in the refrigerator to cool, but this will also make it more difficult to knead later. I like to just leave it on my counter.

Once you’re ready to use it, break off what you need, and start the kneading process. If it’s too hard to work with, you can place it in the microwave for a few seconds to soften it up. Because chocolate is greasy enough on its own, there is no need to use vegetable shortening on your counter top! However, it will stick to any surface once it gets soft, so I always dust my counter with trusty old corn starch.
You can color your chocolate just as you would fondant using gel color, either during the kneading process, or you can add the color to the melted chocolate.
As usual….. One last thing!
Probably my most favorite reason for using modeling chocolate……it doesn’t need to be covered while you’re working with it! Those of you that have worked with fondant know, after you break off a piece to use, the remaining needs to be covered tightly immediately! Otherwise it dries out, and becomes unusable. Not so with modeling chocolate! This stuff could just sit on your counter all day, exposed to the elements, watching you get your cake on, and it doesn’t get angry at all!
I could go on and on about this stuff, but I’ll stop for now and let you get to work. Hopefully, I’ll get to see some of your modeling chocolate creations!
Have fun & enjoy!
